Create a new Project
New Project
On the projects page, you can see a list of all the created projects. At the top right corner, you'll find a New Project button. Click on this button to create a new project. You will then be taken to the first step to enter the Project Information.
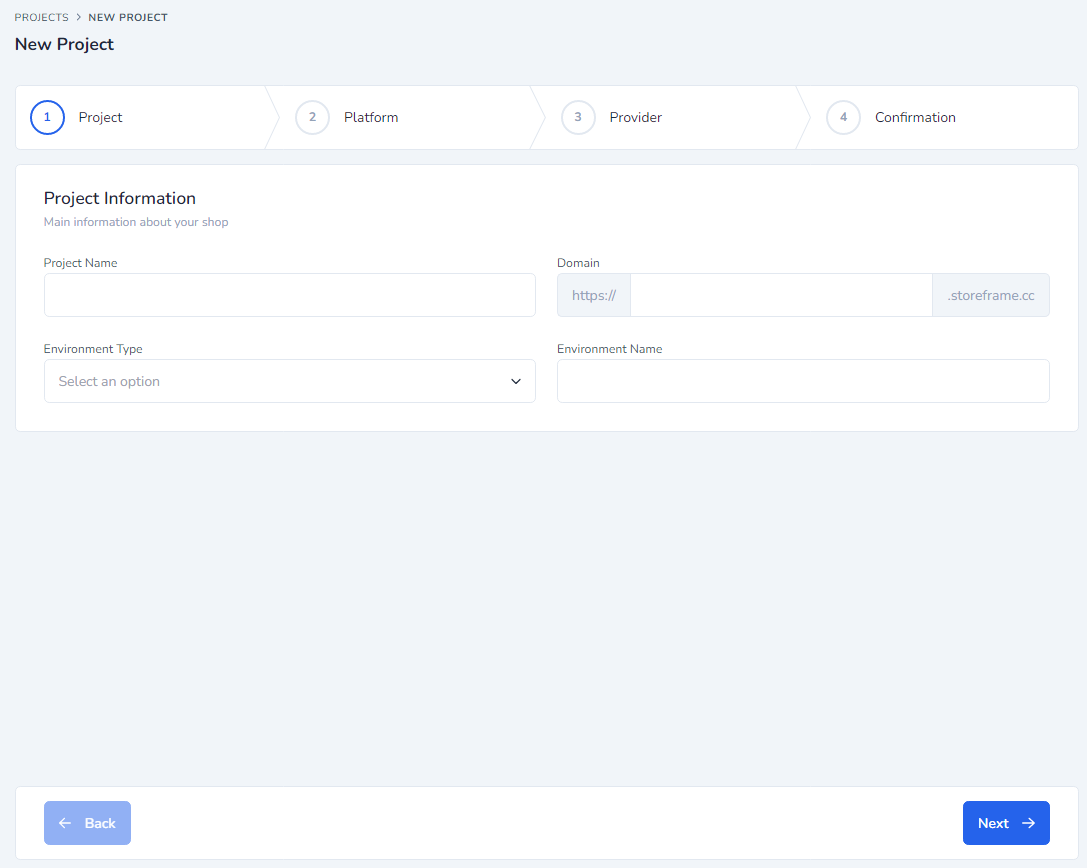
The first step is to fill in the project details:
- Project Name: Name of the project.
- Project Domain: This is the URL assigned to access the project. Here, you can only assign the hostname, such as mystore. The domain is fixed, such as storeframe.cc.
- Environment Type: This is a select box with two server types: Production and Development.
- Environment Name: This is a text field where you can give a name to the environment.
After filling in these details, click on the button on the bottom right corner. You will then be taken to step 2, which is called Platform.
Choose Platform
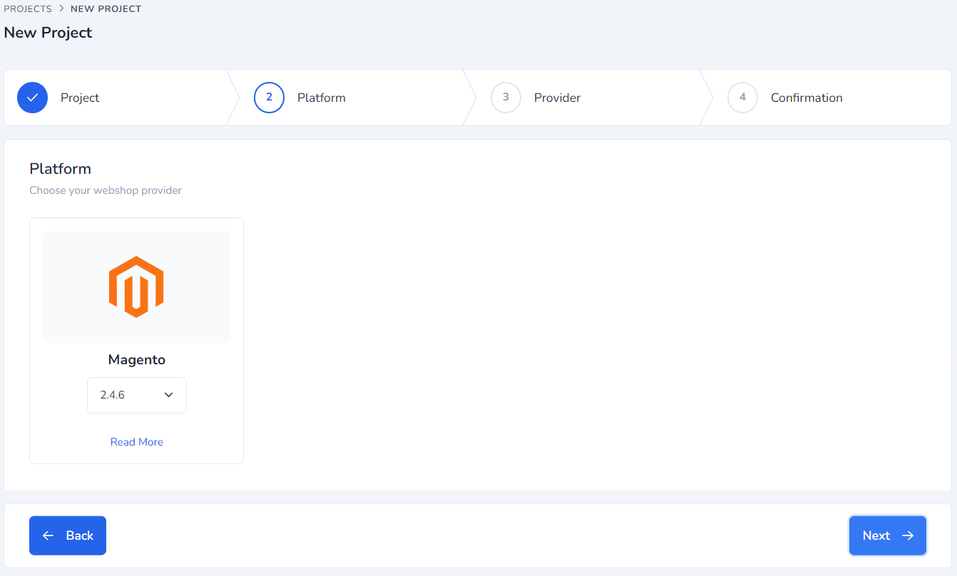
Here, you can select the webshop platform. The first platform is Magento, with a select box containing different Magento versions. After selecting this, you must choose a theme. You can choose between the Storeframe theme and the Luma theme. After selecting this, you can choose whether to include sample data when creating the server. You can turn this on if you want this included in your installation. Then, click on the Next button.
Select Provider
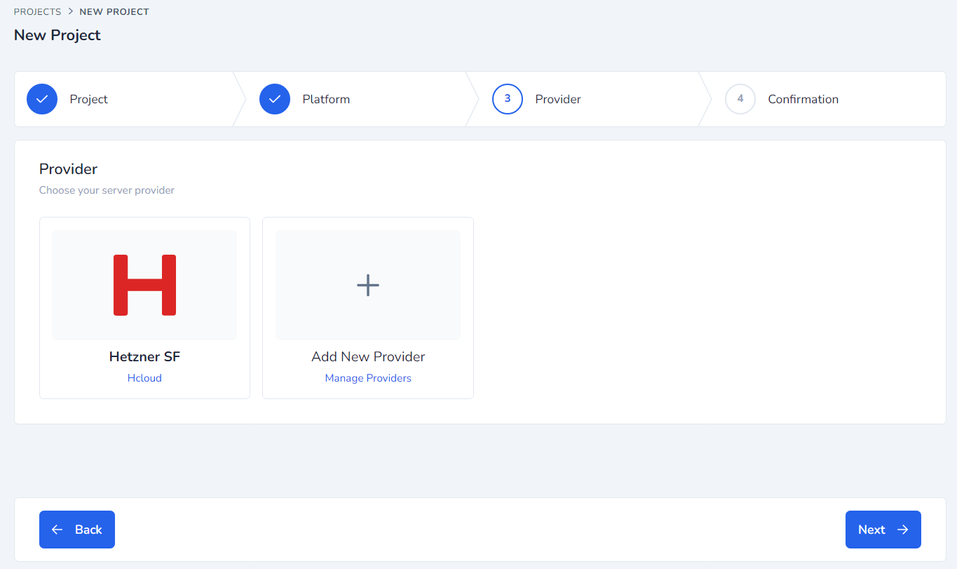
Now you have arrived at step 3, Provider. Here, you can select the hosting provider. You can see the providers that have already been created, or you can create a new provider by clicking the Add New Provider button. If you select a provider, you must select the server specifications, which consist of two select boxes.
- Region: Select the region of the provider. In the case of Hetzner, there are five regions: Falkenstein, Nuremberg, Helsinki, Ashburn, and Hillsboro.
- Server Type: Here, you can select different server types, including internal memory, hard drive size, and number of CPU cores, such as (CX11) / 2GB RAM / 20GB SSD / 1 Shared Intel Core.
Confirmation
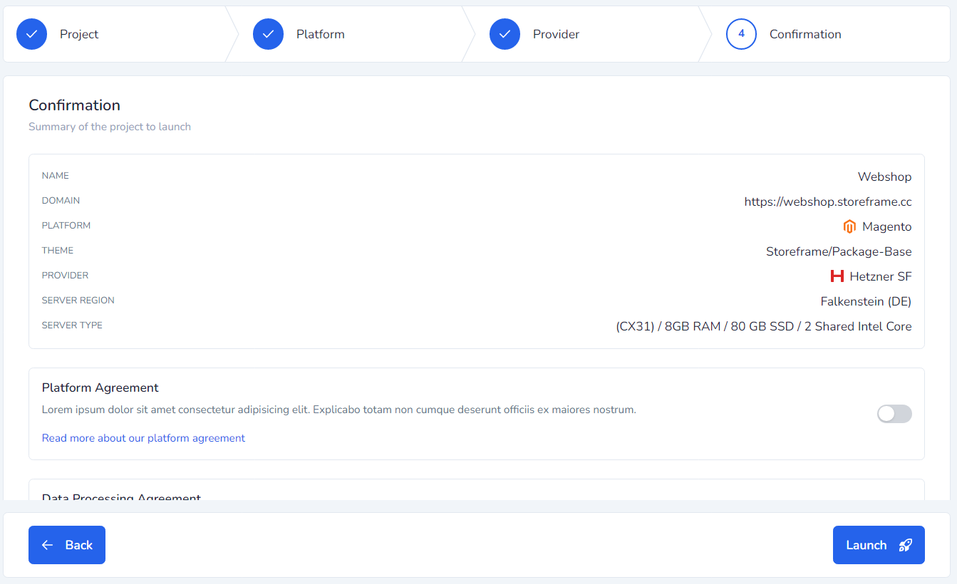
After selecting the server specifications, click on Next. The final step is Confirmation. Here, you will see a summary and two switches:
- Platform Agreement
- Data Processing Agreement
You must accept these two agreements; otherwise, you cannot save it. After accepting them, click on the Launch button. You will then be redirected to the projects list. The selected product will be prepared in the background, and the customer will receive an email when the product is ready.